

Colored Pencil Gradients 101
Colored Pencil Gradients 101: Blend Like You've Got a Little Magic Up Your Sleeve
Confession time: my first attempt at a colored pencil gradient looked less like a dreamy sunset and more like a crime scene involving a box of crayons. If you've ever stared at a beautifully blended piece of art and thought, "How did they DO that?" — welcome. You're in exactly the right coven.
Here's the truth nobody tells beginners: that smooth, colors-melting-into-each-other look isn't some closely guarded wizarding secret. It's a skill. A learnable, very human, very practice-able skill — no decade of arcane study required. And once you've got it, you'll start seeing gradients everywhere: sunsets, dragon scales, glowing potions, the ombré hair of your favorite fantasy heroine.
So sharpen your pencils. We've got three simple techniques that'll take your art from flat to fantastical — and by the end of this post, you'll be blending like a pro. Cape optional. Snacks are strongly encouraged.
What Are Colored Pencil Gradients, Anyway?
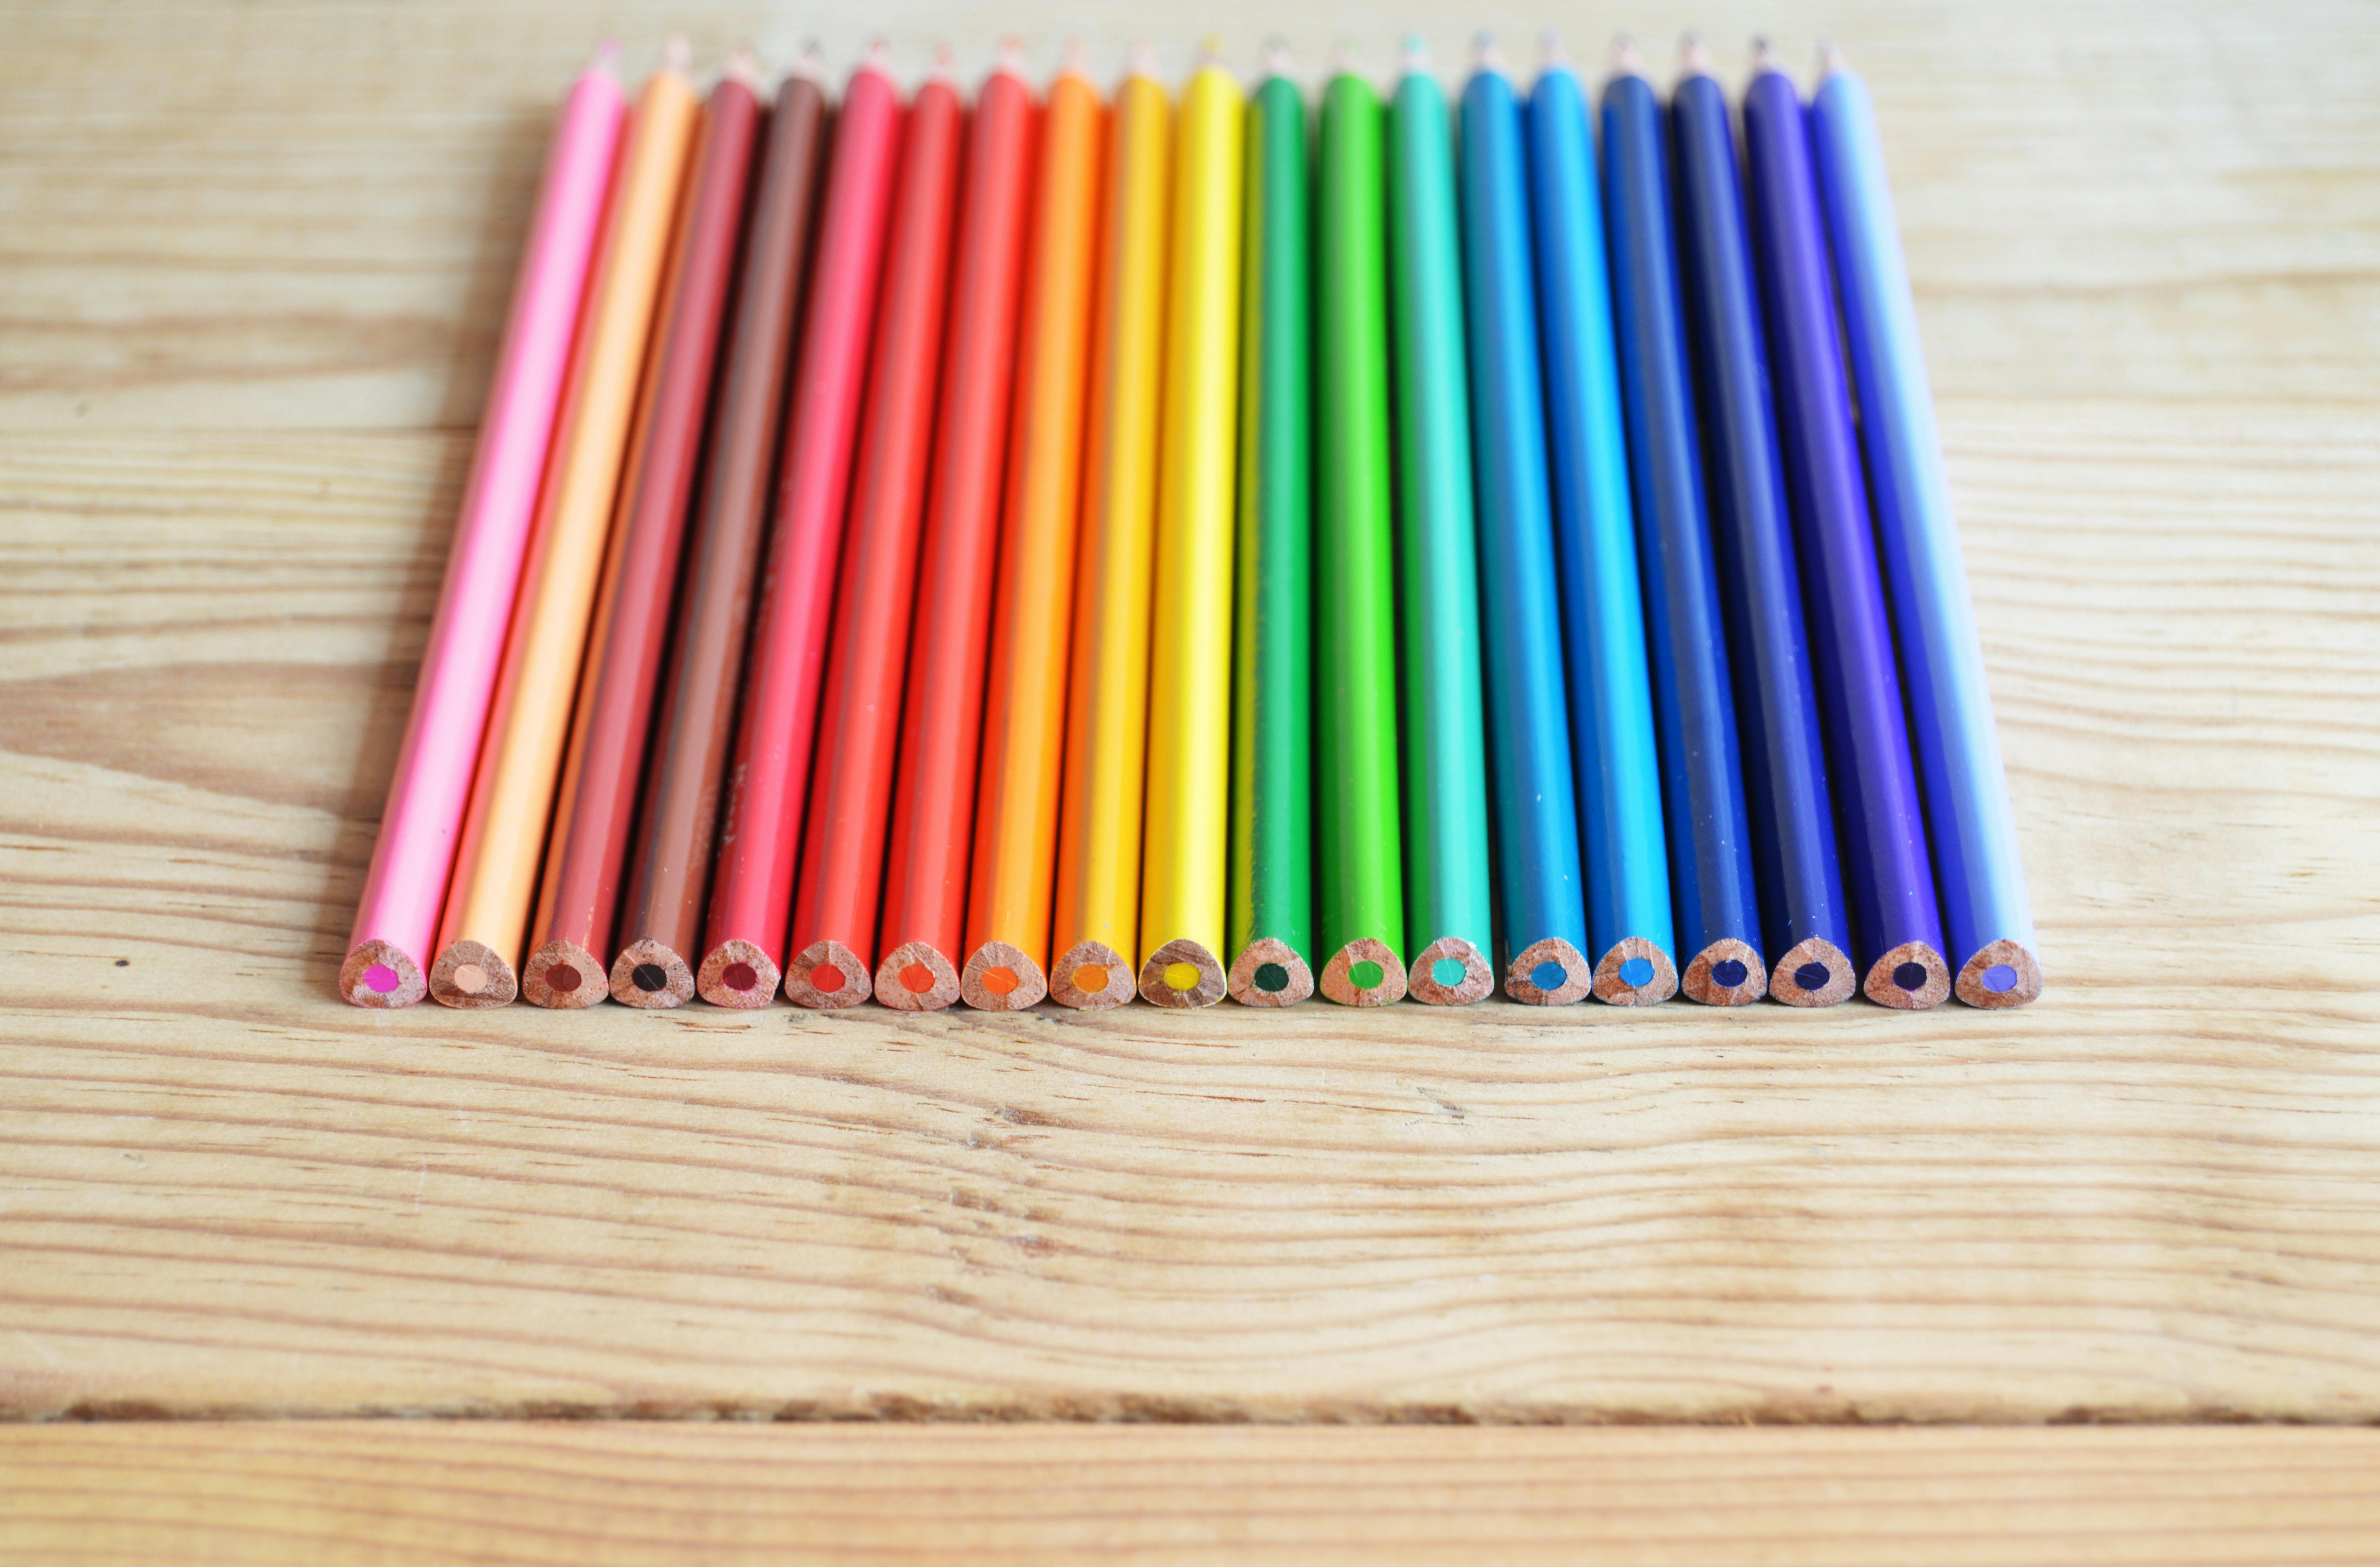
Picture a sunset: fiery orange melts into soft pink, and pink quietly dissolves into a deep, dreamy purple. No hard lines. No awkward color arguments. Just one shade, gently handing the baton to the next. That's a gradient — and it's exactly what you're aiming for with your pencils.
Once you master this transition, your art stops looking flat and starts looking alive. Skies get moodier. Flowers get dreamier. Hair flows like it's caught in an enchanted breeze. It's a small technique with a genuinely magical payoff.
Here's the part beginners always skip, though: gradients feel intimidating, so a lot of new colorists avoid them entirely. Understandable! But also, respectfully, a mistake. Once you try it — even badly — you'll wonder why you waited so long.
Your Spellbook (a.k.a. Tools You'll Need)
Nobody casts a good spell with the wrong wand, and nobody blends beautifully with the wrong supplies. Here's your starter kit:
- Colored pencils. Wax-based ones are your best friend here — they glide instead of fighting you.
- Smooth, thick paper. Rough paper is basically quicksand for blending. Skip it for this project.
- A colorless blender pencil. No pigment, all magic. More on this shape-shifting tool in Technique #3.
- A sharpener. Keep those tips fine and ready for detail work.
You don't need a fully stocked, dragon-sized hoard of art supplies to get great results. A handful of good tools, used well, will take you further than a hundred mediocre ones gathering dust in a drawer.
Everyday Starter Spell
Technique #1: Layering
Layering is the friendliest place to start, and honestly, most gradient magic begins right here.
- Pick two colors that live next to each other on the color wheel — yellow and orange, blue and purple, that sort of thing. Neighbors blend more happily than strangers.
- Color one section with your first shade using light, easy strokes.
- Add the second color right beside it, letting the edges overlap just slightly.
- Go back with your first color and gently work it into that overlap zone.
- Keep switching back and forth in thin layers until the transition feels seamless.
The golden rule: light pressure, always. Press too hard too soon, and the paper goes waxy on you — which, frankly, it will hold a grudge about for the rest of your drawing session. Think of layering like building a really good sandwich: slow, thin layers win every time.
The Glow-Up Spell
Technique #2: Burnishing
Burnishing is where things get polished, waxy, and genuinely gorgeous. Here's the move: press firmly with a light pencil — white or cream — over layers you've already built up.
- Lay down your base colors using the layering technique above.
- Once you've got a few solid layers, grab that white or cream pencil.
- Press firmly over the area where your colors meet, smoothing everything together.
The pigments melt into each other, and the paper's texture practically disappears, leaving a silky, almost glowing finish. It's perfect for flower petals, skin tones, and dreamy pastel skies.
One important catch: burnishing is basically a one-way spell. Once you've sealed those layers, adding more color gets very tricky. Save this move for the very last step of your session — no take-backsies.
The Shape-Shifter
Technique #3: Blending with a Colorless Blender
A colorless blender pencil is the ultimate plot twist: it looks exactly like a regular pencil, but there's no pigment hiding inside. Instead, it borrows the wax already on your paper and pushes your colors together into something smoother and softer.
- Lay down your base colors, same as you would for layering.
- Take your colorless blender and rub it firmly where two colors meet.
- Watch the edge blur into something new — blend red into orange, for example, and you'll land on a gorgeous coral right in the middle.
This tool is a favorite for beginners because it gives you real control without being fussy, and it plays nicely with pretty much every pencil brand out there. Like burnishing, save it for the end of your session for the smoothest results.
Common Mistakes (Every Colorist Makes These — You're in Good Company)
Even seasoned artists trip over these. Consider this your early-warning spell:
- Pressing too hard, too soon. Light pressure means more control and less waxy buildup.
- Blending colors that are total strangers. Bright blue and hot pink, straight out the gate, usually turn muddy instead of magical. Build your color-wheel confidence first.
- Skipping straight to burnishing. Tempting, we know. Resist it. Layer first, always.
- Fighting rough paper. If your blends look rough no matter what you try, the paper might be the actual problem. Switch to something smoother.
- Giving up after one try. Blending gets easier — and more intuitive — every single time you practice. Be patient with yourself. You've got this.
Your Turn to Cast the Spell
You now know three genuinely powerful techniques for creating smooth, beautiful colored pencil gradients. The secret ingredient from here? Practice. The more you color, the more natural this all starts to feel — promise.
Ready to put your new blending skills to work? Head over to our shop for coloring pages built for exactly this kind of practice — skies to shade, hair to blend, and plenty of room to make a little magic of your own.
Shop Coloring Pages on Etsy →